
[] Ditch the Warnings: Securing Your Home Lab with Nginx Proxy Manager
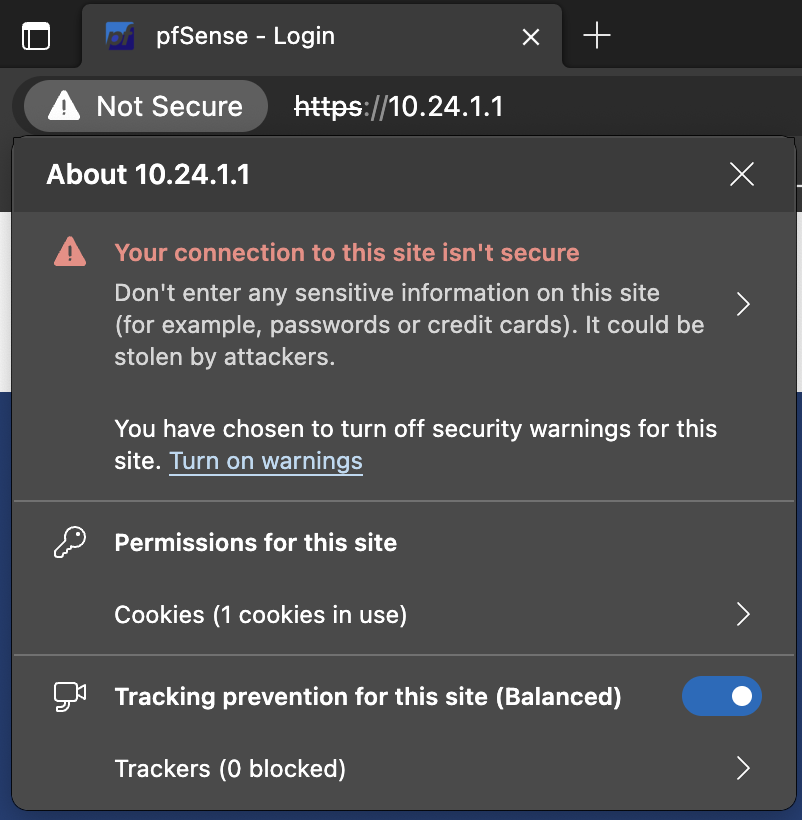
Ever had this experience?
Or maybe this?
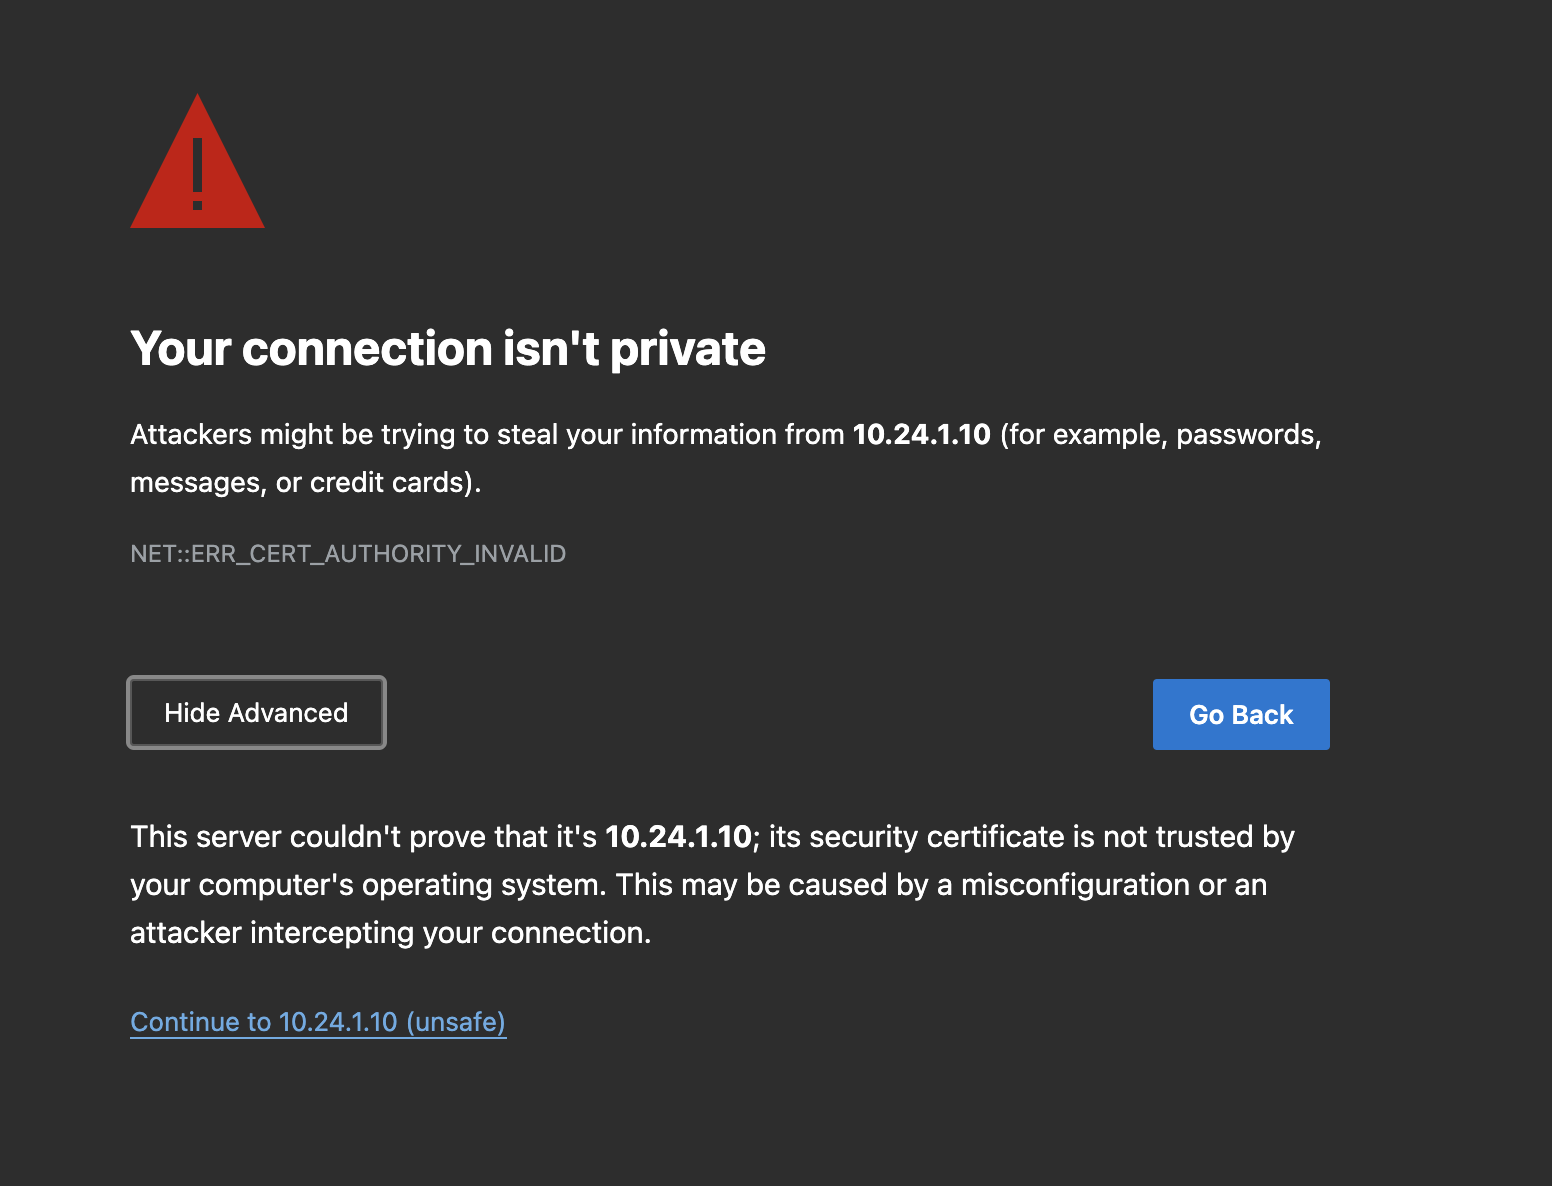
Yeah, those warning triangles and 'ignore' clicks can be really annoying. But hey, after a bit of research, I found a way around it: reverse proxies.
I tested out a few options like Traefik, HAProxy, Caddy and so on. After some trial and error, I decided to stick with Nginx Proxy Manager. Why? It's easier to set up, configure, and add new forwardings. And the beauty is that it's completely OK to point the domain to an internal IP address. All domain verifications, both during setup and renewal, will utilize the DNS API, eliminating the need to expose any of your ports to the internet. Plus, we can use Let's Encrypt's free wildcard SSL certificate, so all services can share the same certificate.
So, let's dive into how to make this happen.
What You'll Need
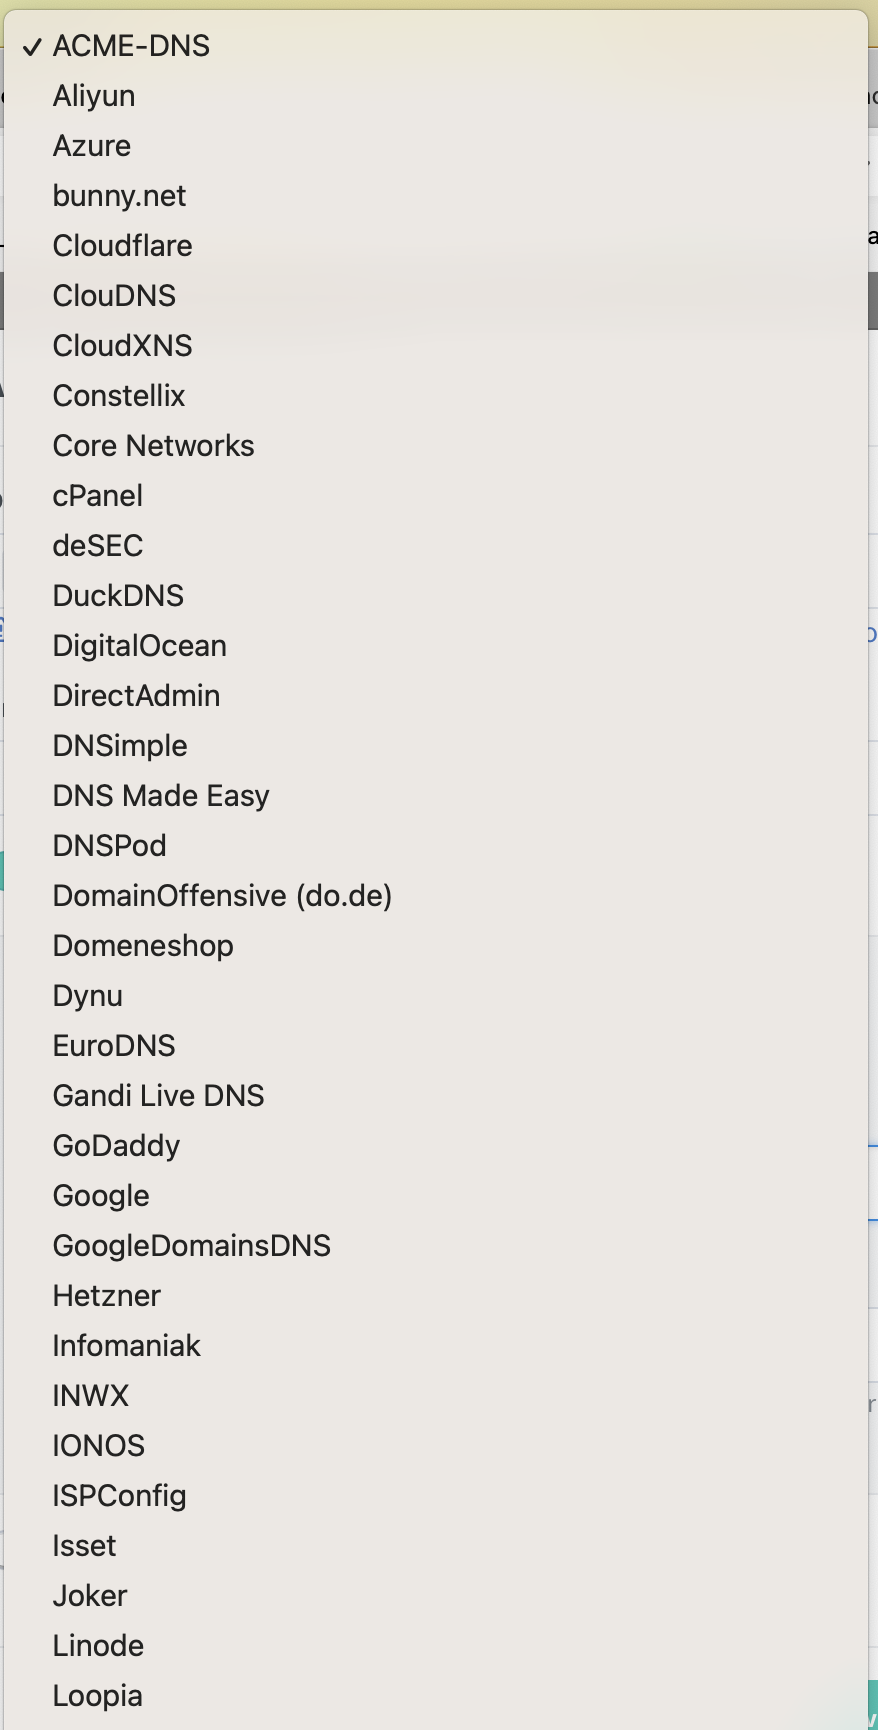
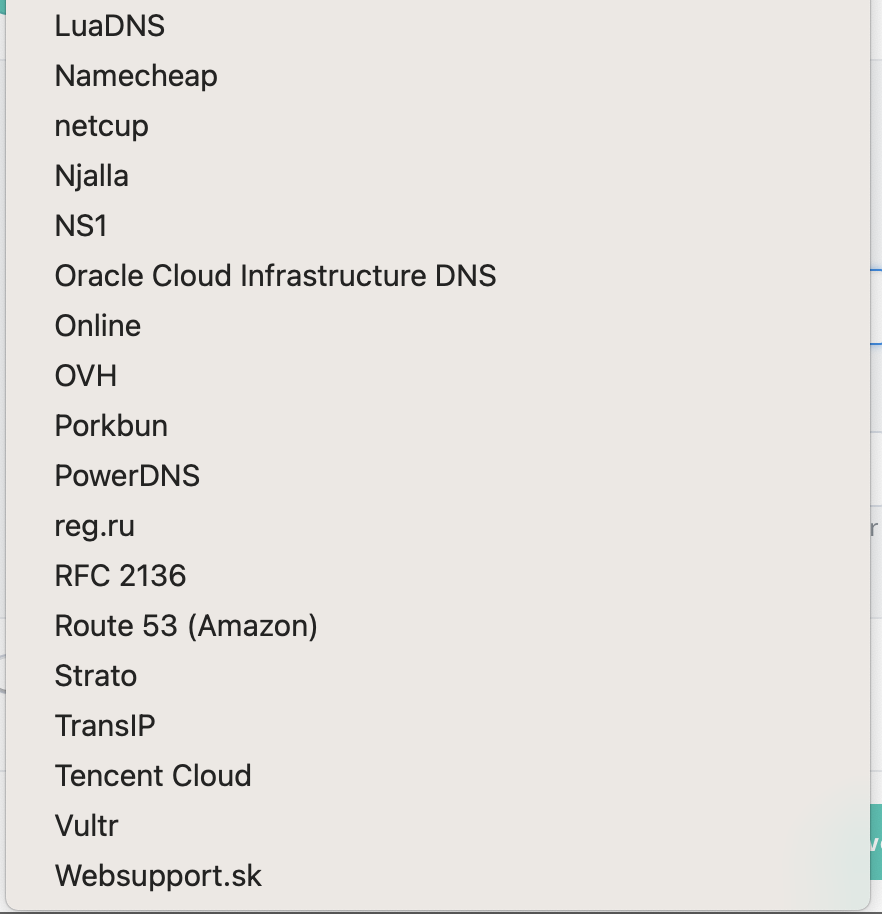
- A domain name that Nginx Proxy Manager supports with its API function. I'm using Google Domains, but you can check out other options here:
No domain? No problem! You can use a free service like DuckDNS. They're supported by Nginx Proxy Manager and won't cost you a dime.
- A Docker environment. I won't dive into getting Docker ready today, but you can check out other posts on how to install Docker.
Alright, let's get this show on the road.
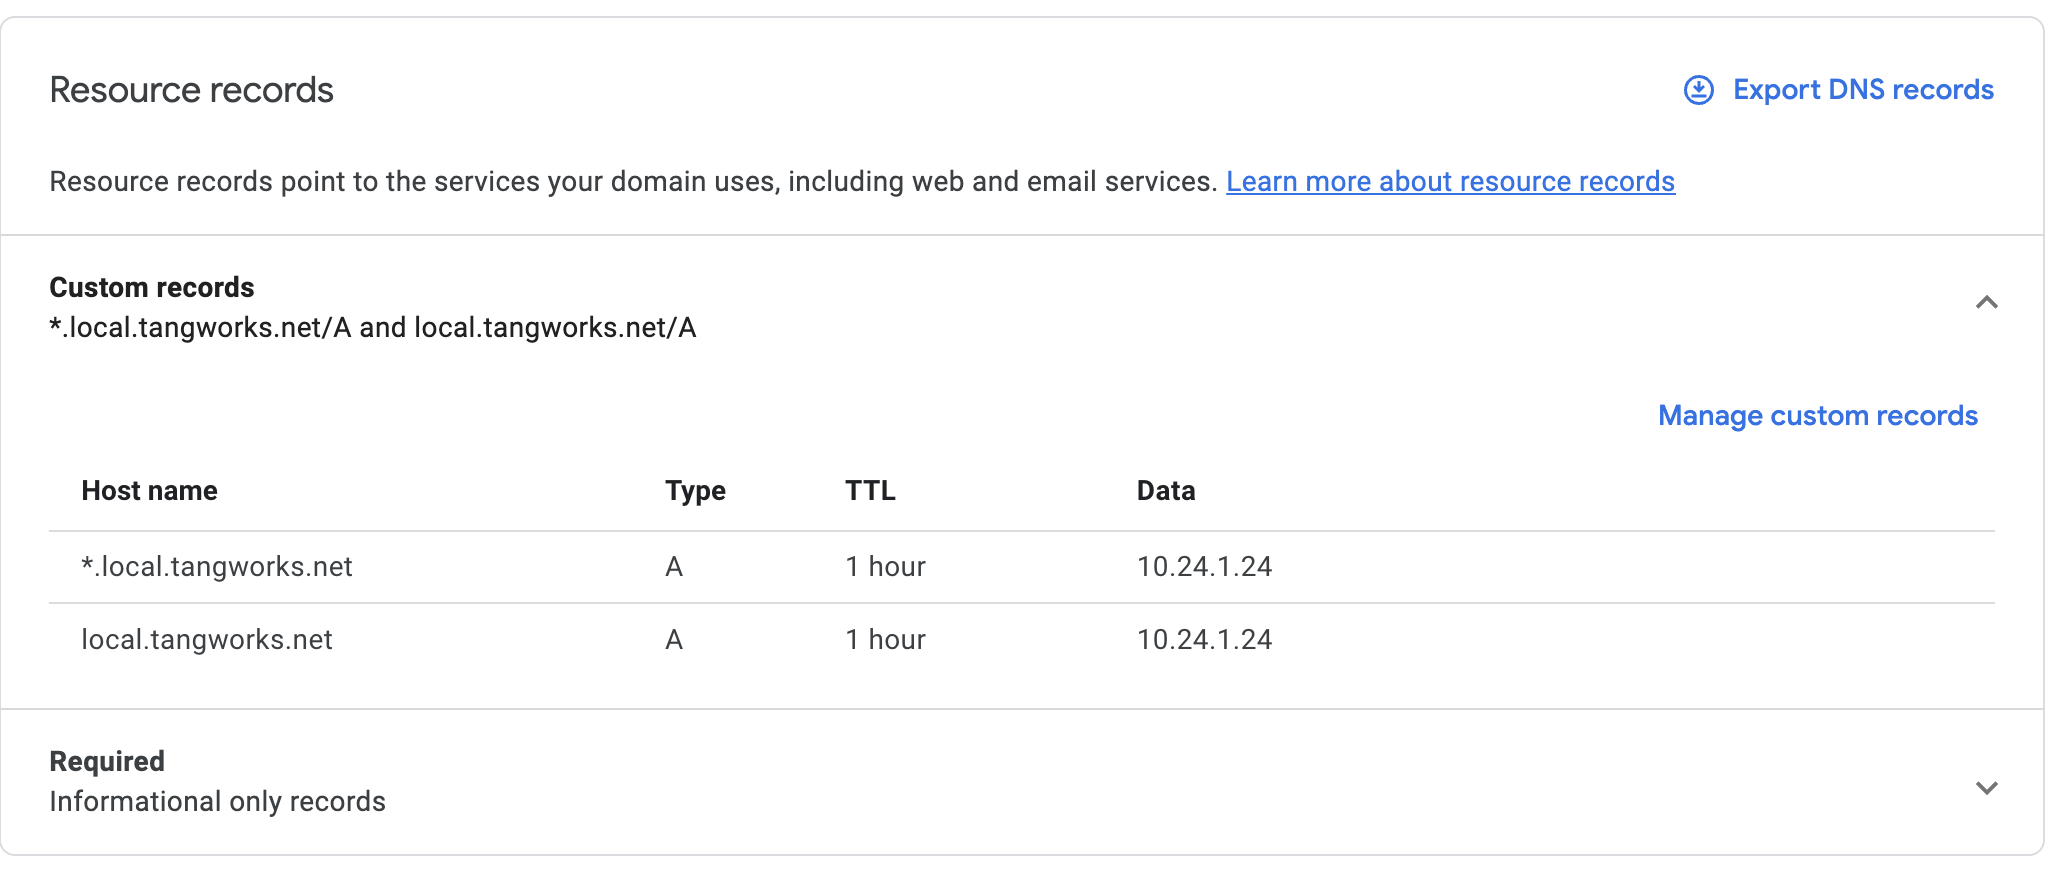
1. Set Up Your Domain
In Google Domains, navigate to Domain Name > DNS > Manage Custom Records. I set up both "*.local.tangworks.net" and "local.tangworks.net" to point to my Docker server's internal IP address, which in my case is "10.24.1.24".
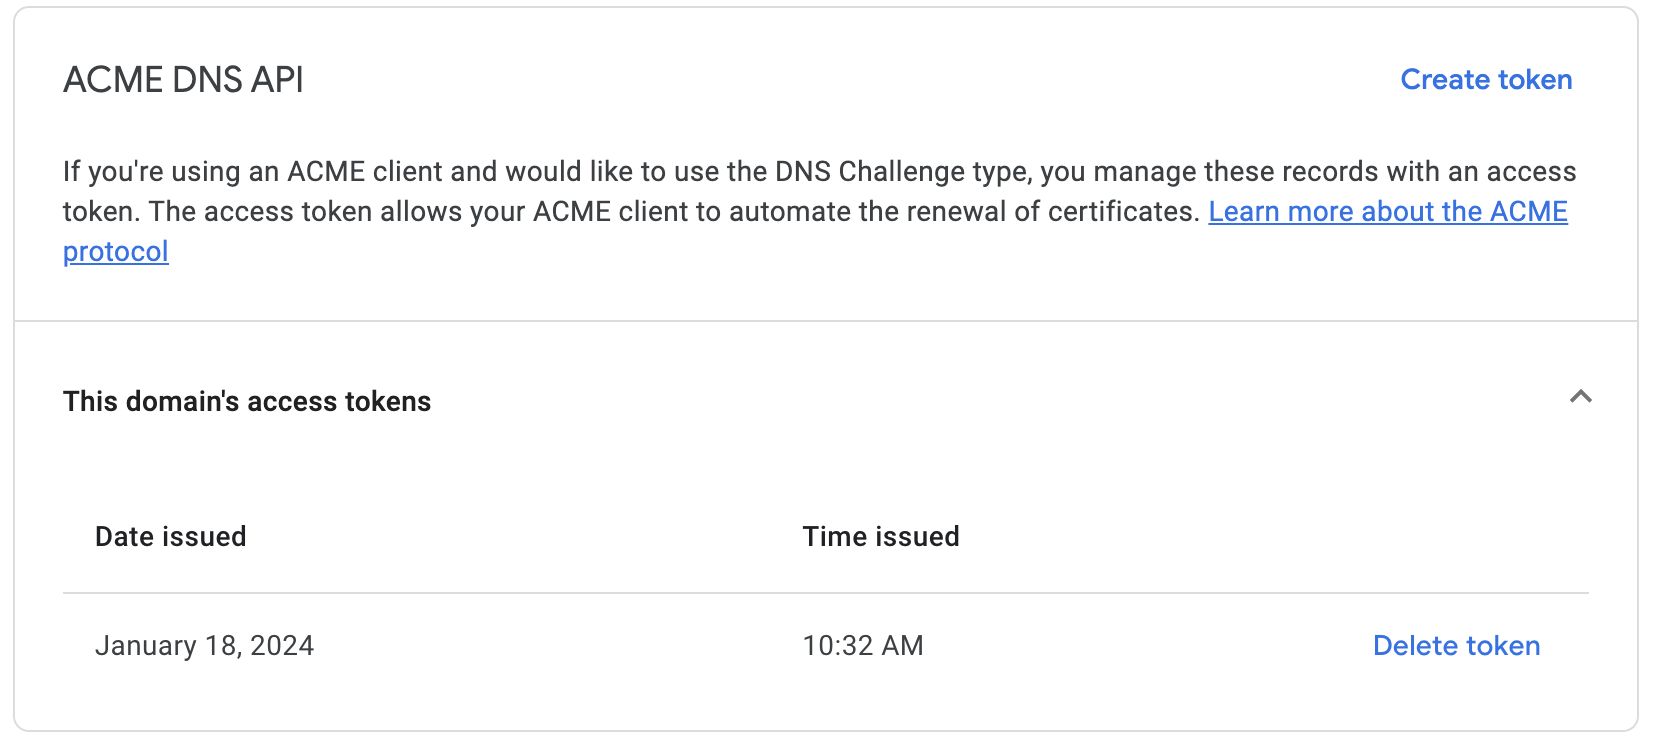
2. Get Your Google Domain API Key for ACME DNS API
Here's how: go to Domain Name > Security > ACME DNS API, create a token
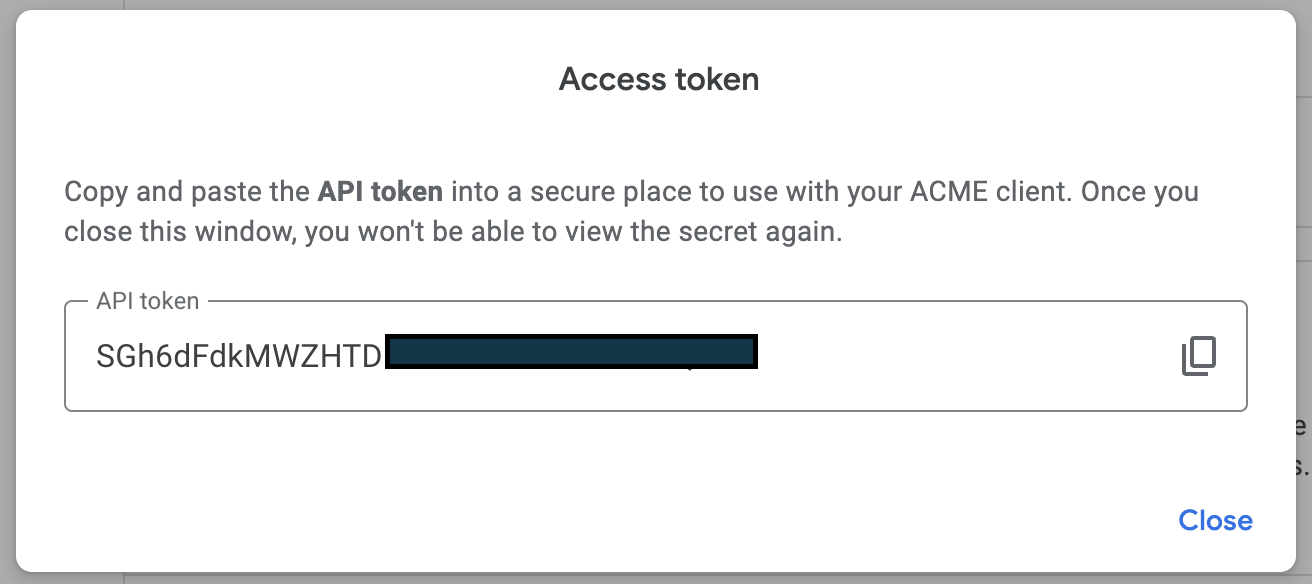
write down your newly generated token, and close the pop-up window.
That's it for the domain setup. If you're using a different provider, the steps should be similar, but the details might vary.
3. Pull the Nginx Proxy Manager in Docker
First, create a docker-compose.yml file:
version: '3.8'
services:
  app:
    image: 'jc21/nginx-proxy-manager:latest'
    restart: unless-stopped
    ports:
      - '80:80' # Public HTTP Port
      - '443:443' # Public HTTPS Port
      - '81:81' # Admin Web Port
    volumes:
      - ./data:/data
      - ./letsencrypt:/etc/letsencrypt
Feel free to tweak the settings as needed. Then run:
docker compose up -d
The configuration port of Nginx Proxy Manager is "81". Visit "http://Docker_IP_Address:81" in your browser.
4. Add an SSL Certificate to Nginx Proxy Manager
Log in with the default username (admin@example.com) and password (changeme). You'll be prompted to update your email address and password.
Next, go to SSL Certificates in the menu. Add an SSL certificate and choose "Let's Encrypt".
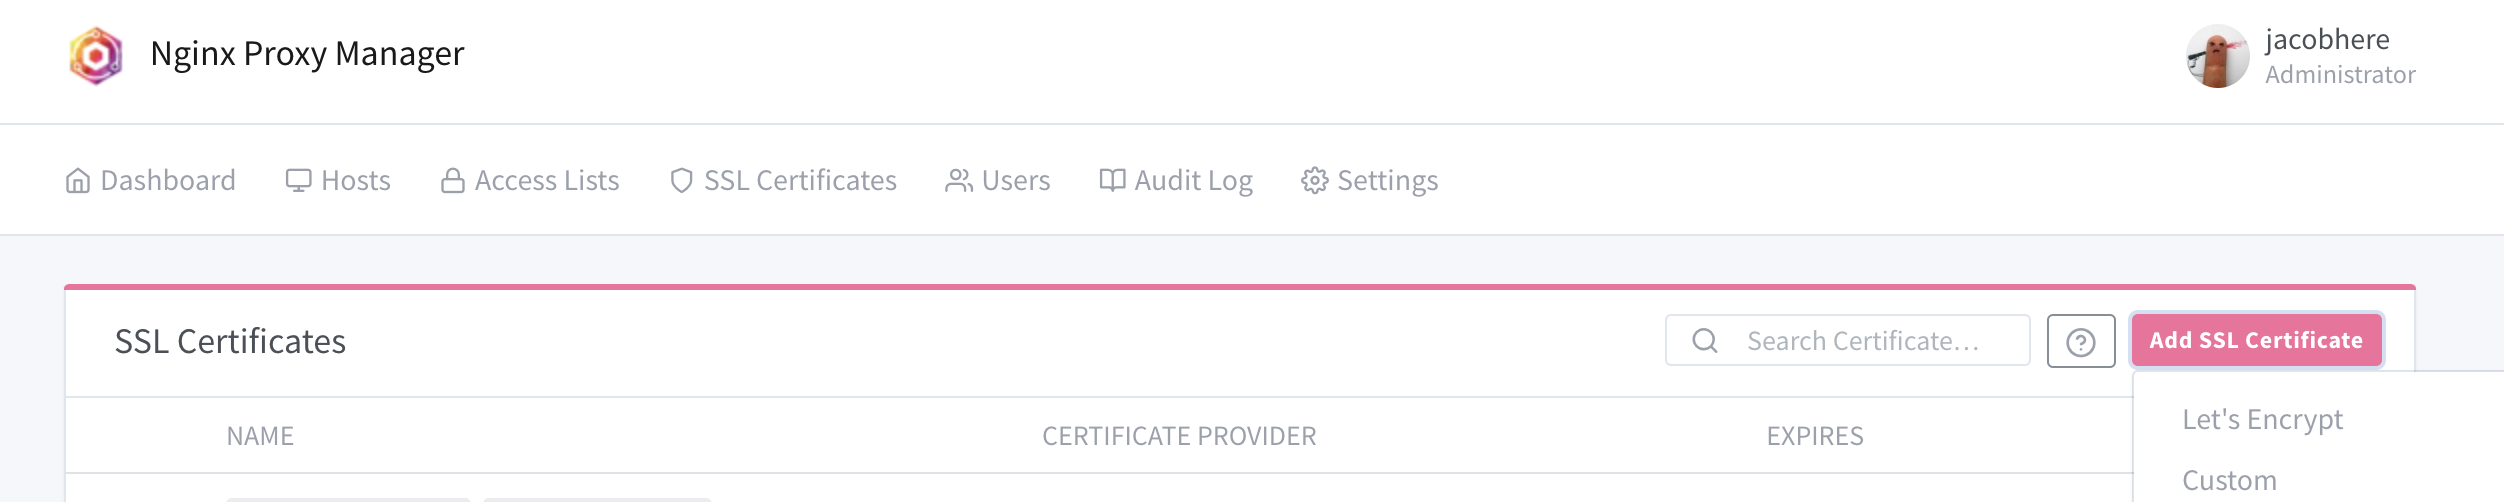
Enter both of your domains ("*.local.tangworks.net" and "local.tangworks.net") in the pop-up window. These will share the same certificate. Add your email address, select "Use a DNS Challenge", choose your DNS provider, and enter your API key and domain name. Don't forget to agree to the Let's Encrypt ToS.
If all goes well, you should see your certificate here:

It'll expire in three months, but it'll renew automatically so you won't need to worry about it.
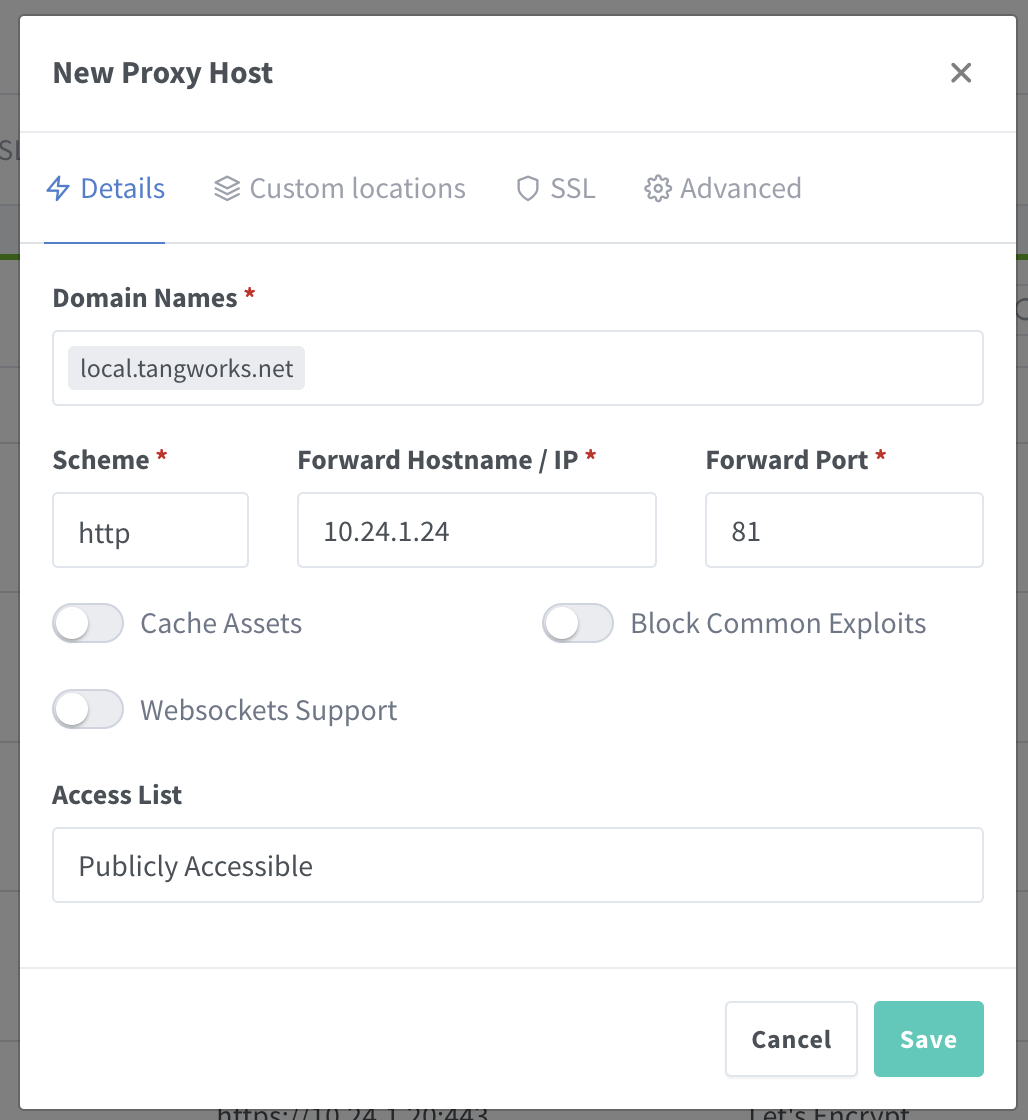
5. Add a Reverse Proxy to Nginx Proxy Manager
Time to add reverse proxies and secure those internal services. Let's start with Nginx Proxy Manager itself.
Go to the "Host" Menu > Proxy Hosts > "Add proxy host". In the "Details" tab, enter your domain name (I'm using "npm.local.tangworks.net"), protocol (http), IP address (your Docker IP), and port (81).
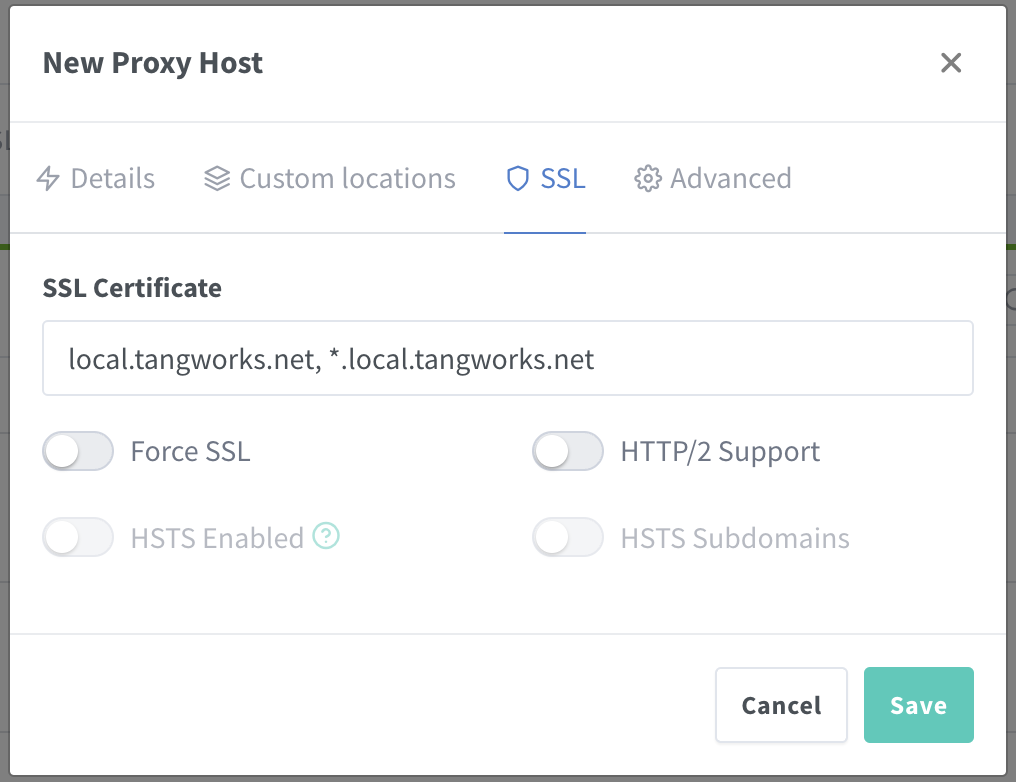
Then go to the SSL tab and select the SSL certificate we generated earlier.
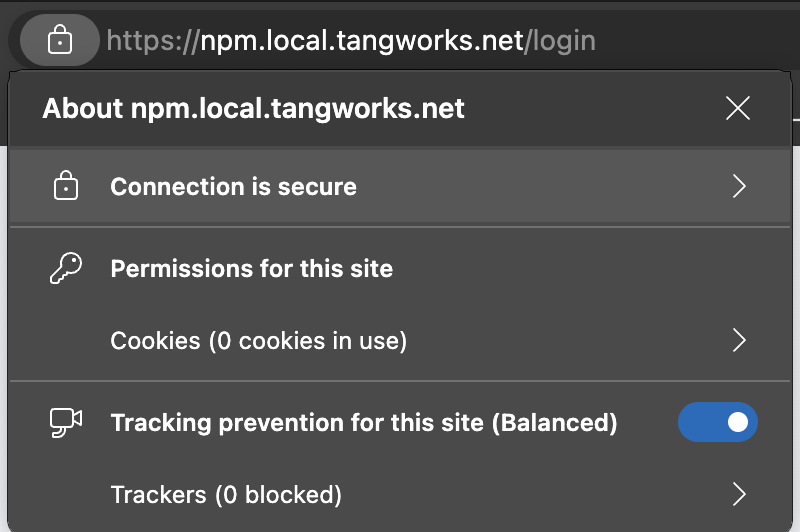
If you've done everything right, open a new browser and visit "https://npm.local.tangworks.net/". You should see your secured version of Nginx Proxy Manager.
6. Add Reverse Proxies for Other Services
Just repeat Step 5 to set up other services on your internal servers, routers, firewalls, and so on.
And there you have it! Enjoy your newly secured internal services and say goodbye to those pesky warnings!
Leave a Comment